Home Repair Done Right – Why Details Like Edge Banding Tapes Matter
When we think of home repair, our minds often jump to the big stuff—fixing a leaky roof, replacing broken tiles, or patching up damaged drywall. But if you’ve ever tried to refresh furniture or cabinetry as part of your repair project, you’ve probably come across edge banding tapes. These thin, flexible strips may seem like a minor detail, but they play a surprisingly important role in both the look and durability of your surfaces. Whether you’re renovating a kitchen or sprucing up your built-in storage, edge banding tapes can be the finishing touch that makes your repairs look clean, polished, and professional.
The “Invisible” Fix That Makes a Visible Difference
When a chipboard panel or MDF shelf gets damaged, it’s often the edges that show wear first. They’re the most vulnerable to chipping, moisture, and peeling. Simply replacing a board might fix the function, but if you leave the edges raw or exposed, it won’t look like a proper repair—it’ll look like a shortcut.
That’s where edge banding comes in. Applying edge banding tape to the sides of shelves, cabinet doors, or countertops gives them a finished, “factory-made” appearance. It also protects the core material from water and impact damage, especially in high-traffic areas like kitchens and bathrooms.
Repair Projects Where Edge Banding Helps
Here are some common scenarios where edge banding can take your repair job to the next level:
Kitchen cabinet repairs: When refacing doors or replacing damaged shelves, edge banding gives a seamless finish that blends with the rest of your kitchen.
Wardrobe upgrades: Repairing a chipped wardrobe side panel? Add a matching tape to the edge and it’ll look like new.
Office furniture fixes: Edge banding is ideal for desks and bookshelves—especially when corners get knocked or edges swell over time.
DIY shelving: Building or repairing floating shelves? Edge banding not only improves looks but also protects exposed particleboard from moisture.
How to Apply Edge Banding Tape (Without Losing Your Mind)
The good news? Edge banding is surprisingly beginner-friendly, especially with modern self-adhesive options. For small jobs, you can even apply it using a household iron. Here’s a quick breakdown:
Clean and prep the surface – Sand the edge to ensure it’s smooth, then wipe away dust.
Cut your tape – Make sure it’s slightly longer than the edge to allow for trimming.
Heat and press – If using a pre-glued tape, a hot iron works. For PVC edge banding, a proper edgebander or adhesive is needed.
Trim the edges – Use a sharp blade or edge trimmer to remove excess.
Finish the corners – Sand gently to blend edges and avoid sharp corners.
Common Mistakes to Avoid
Don’t rush the application. Take your time to align the tape properly.
Avoid using low-quality tapes that peel or crack over time.
Don’t ignore the grain or texture—match the tape to your surface for a clean look.
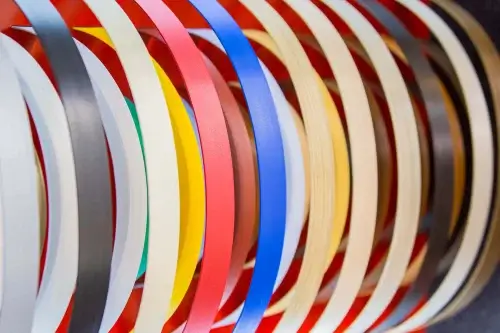
Choosing the Right Tape for the Job
Edge banding tapes come in various widths, thicknesses, colours, and materials. The most common types are:
PVC – Durable, flexible, and water-resistant. Great for kitchens and high-use areas.
Melamine – More affordable, better for light-use furniture.
ABS – Eco-friendly and easy to work with.
Wood veneer – Ideal for premium furniture repair and natural aesthetics.
Don’t Underestimate the Finish
One of the biggest differences between a “fixed” item and a “professionally restored” one is attention to detail. That’s why adding edge banding to a repaired shelf or cabinet instantly elevates the result. It says, “Someone cared enough to do it right.”
So next time you’re taking on a home repair project, don’t just think about structure—think about the finish. That 2mm strip of edging might just be the thing that transforms a patch job into a permanent improvement.